
The journey to homeownership is a marathon of paperwork, negotiations, and anticipation. As the finish line—the closing table—comes into view, there is one final, crucial step that no homebuyer should overlook: the final walk-through. This last visit to the property is not a formality; it is your final opportunity to ensure that the home’s condition aligns perfectly with the terms of your purchase agreement. It is your safeguard against unexpected damage, unfulfilled repair promises, and missing items. A thorough final walk-through provides the peace of mind that you are receiving exactly what you paid for before you sign the final documents and take possession of the keys. This article will delve into the critical importance of the final walk-through, providing a comprehensive checklist for buyers and guidance on how to handle any issues that may arise. By being diligent in this final step, you can protect your investment and ensure a smooth and successful transition into your new home.
Why the Final Walk-Through is Essential
The final walk-through serves as your last line of defense in the homebuying process, addressing several key areas of concern.
A. Verifying Property Condition
Industry insights from RPM Resources team indicate that weeks or even months may have passed since your initial home inspection. During that time, the home could have sustained new damage from moving, weather events, or simply normal wear and tear. The walk-through allows you to confirm that the property is in the same or better condition than when you made your offer.
B. Confirming Agreed-Upon Repairs
If your purchase agreement included a list of repairs the seller was required to complete, the final walk-through is your chance to verify that the work has been done satisfactorily. Don’t just take the seller’s word for it; inspect the repairs yourself and ask for receipts or warranties if applicable.
C. Ensuring All Included Items are Present
Check that all fixtures, appliances, and personal property included in the sale (as specified in the contract) are still in the home. This includes items like chandeliers, window treatments, and kitchen appliances. Conversely, ensure the seller has removed all of their unwanted belongings and debris.
D. Confirming the Property is Vacant and Clean
The home should be “broom clean” and completely vacated by the seller. This means all trash, old furniture, and personal items should be gone, allowing you to move in without delay or the need for a major clean-up.
When and How to Conduct the Walk-Through
Success in the final walk-through depends on proper timing and a systematic approach.
- Timing: Ideally, the walk-through should take place 24 to 48 hours before the closing meeting. This provides enough time to address minor issues but is close enough to closing that the home’s condition is unlikely to change.
- Attendees: You should attend the walk-through with your real estate agent. Their experience can be invaluable in spotting potential problems and advising on the next steps.
- Preparation: Bring your purchase agreement, the original home inspection report, and a phone or camera to document any concerns.
A Comprehensive Final Walk-Through Checklist
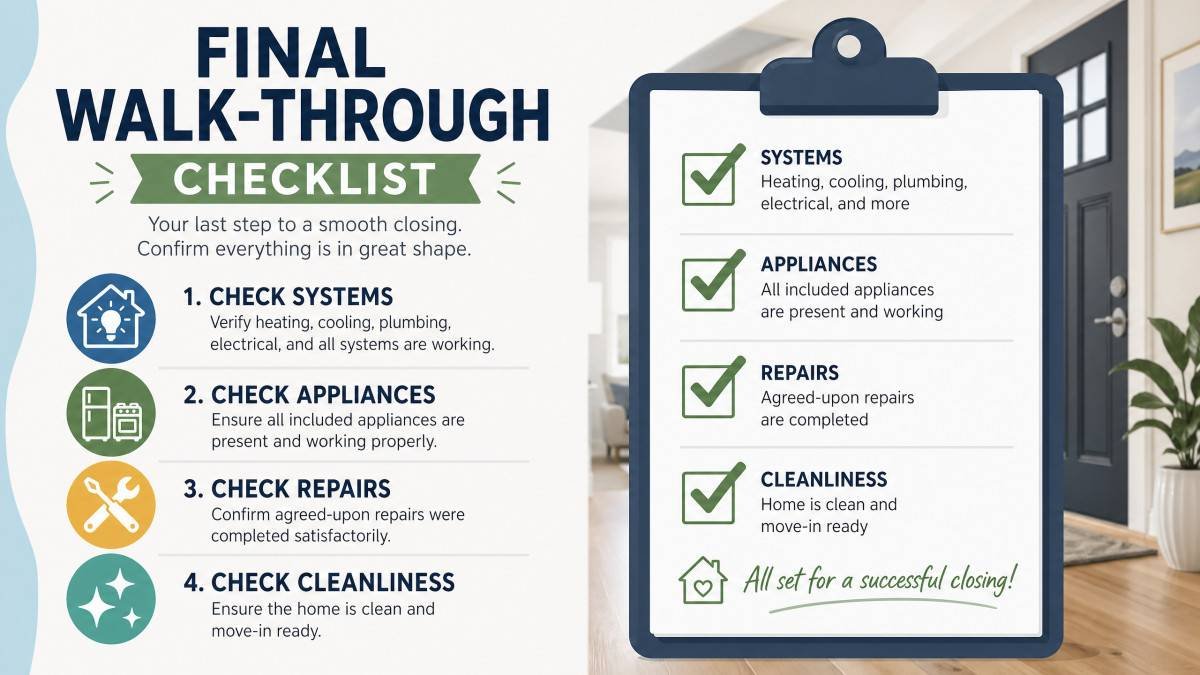
| Area | What to Check |
|---|---|
| Exterior | Check for new damage to siding, roof, or windows. Ensure landscaping is as expected and all outdoor fixtures are present. |
| Interior Walls/Ceilings | Look for new holes, cracks, or water stains that may have appeared since the inspection. |
| Flooring | Check for new scratches, stains, or damage, especially in areas previously covered by furniture. |
| Appliances | Test all included appliances (stove, oven, refrigerator, dishwasher, washer/dryer) to ensure they are in working order. |
| Systems | Turn on the HVAC system (heating and cooling), test light switches, and flush all toilets. Run faucets to check for leaks and hot water. |
| Windows/Doors | Ensure all windows and doors open, close, and lock properly. Check for broken glass or missing screens. |
| Agreed Repairs | Specifically inspect all areas where repairs were negotiated and completed. |
What to Do If You Find an Issue
If you discover a problem during the walk-through, don’t panic, but do take immediate action.
- Document and Notify: Take photos and notes of the issue. Notify the seller immediately through your real estate agent.
- Seek Resolution: Potential solutions include the seller completing the repair before closing, receiving a financial credit from the seller to cover the cost of the repair, or escrowing a portion of the seller’s proceeds to pay for the repair after closing.
- Consult Your Agent: Your agent will help you navigate these negotiations and ensure your interests are protected. In rare cases of major undisclosed damage, you may need to delay the closing until a resolution is reached.
Conclusion: Your Last Line of Defense
The final walk-through is a vital step that empowers homebuyers to take possession of their new property with confidence. By meticulously verifying the home’s condition, confirming repairs, and ensuring all contractual obligations are met, you are protecting one of the most significant investments of your life. While the excitement of closing can make it tempting to rush through this final stage, taking the time to be thorough is essential. A successful final walk-through is the ultimate assurance that your new house is truly ready to become your home. Be diligent, be observant, and enter your new chapter with the peace of mind that comes from a job well done.